 https://prestigedetailing.com.mt/wp-content/uploads/2025/10/98E23623-CA0D-41F8-A996-18D762B2D9C1-1030x1030-1.jpg
1030
1030
Tamara Grech
https://prestigedetailing.com.mt/wp-content/uploads/2019/06/prestige_logo3.svg
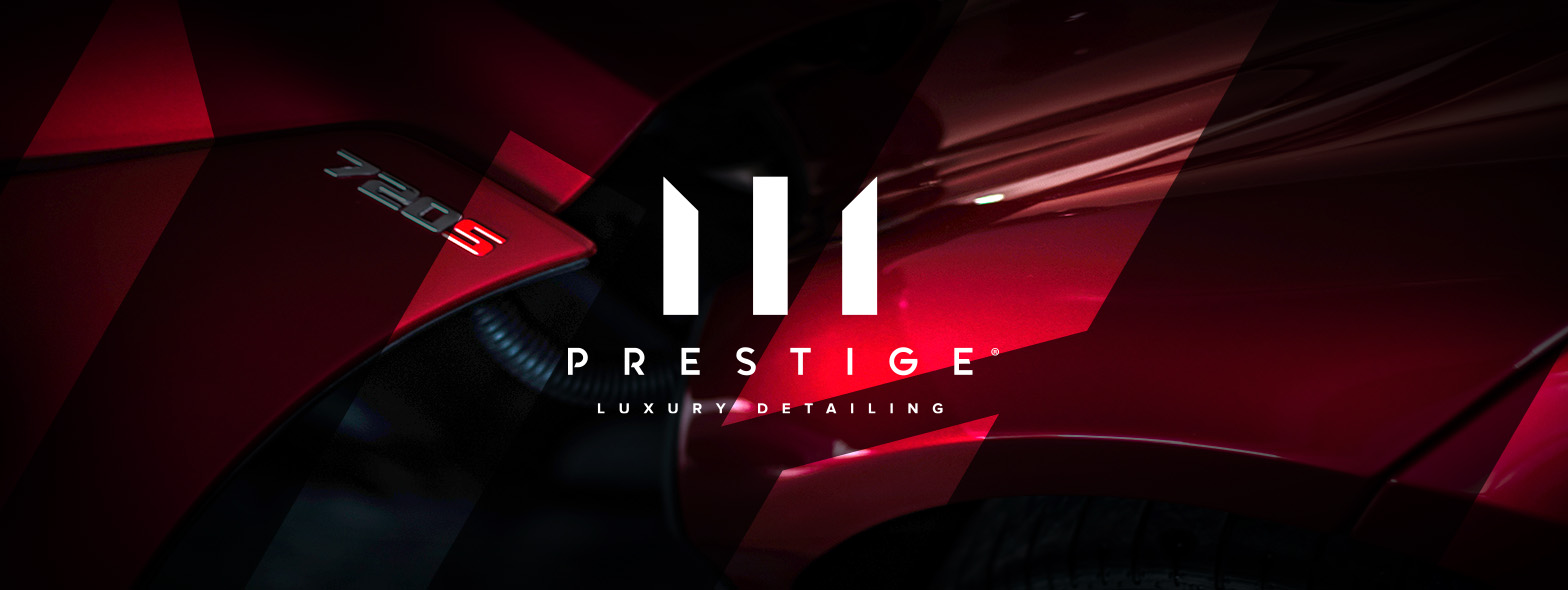
Tamara Grech2025-10-10 10:51:312025-10-10 10:51:31Detailing 101: Step 3 of 4 - How to Paint Correct
https://prestigedetailing.com.mt/wp-content/uploads/2025/10/98E23623-CA0D-41F8-A996-18D762B2D9C1-1030x1030-1.jpg
1030
1030
Tamara Grech
https://prestigedetailing.com.mt/wp-content/uploads/2019/06/prestige_logo3.svg
Tamara Grech2025-10-10 10:51:312025-10-10 10:51:31Detailing 101: Step 3 of 4 - How to Paint Correct https://prestigedetailing.com.mt/wp-content/uploads/2025/04/GYEON-Spring-campaign-CanCoat_line-2-1080x1080px.jpg
1080
1080
James Borg
https://prestigedetailing.com.mt/wp-content/uploads/2019/06/prestige_logo3.svg
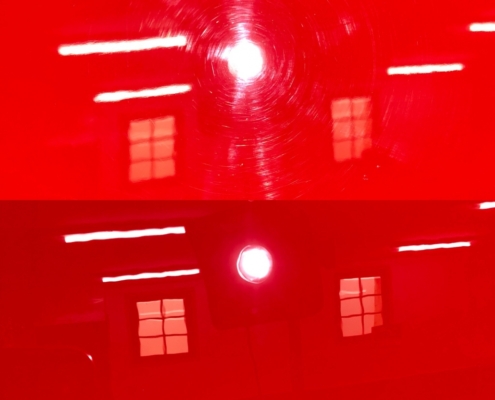
James Borg2025-04-05 15:24:552025-04-05 16:20:18Spring is upon us! Be prepared 4 the Season
https://prestigedetailing.com.mt/wp-content/uploads/2025/04/GYEON-Spring-campaign-CanCoat_line-2-1080x1080px.jpg
1080
1080
James Borg
https://prestigedetailing.com.mt/wp-content/uploads/2019/06/prestige_logo3.svg
James Borg2025-04-05 15:24:552025-04-05 16:20:18Spring is upon us! Be prepared 4 the Season https://prestigedetailing.com.mt/wp-content/uploads/2024/08/104763512_170770097753641_3967202130012477212_n.jpg
1440
1080
James Borg
https://prestigedetailing.com.mt/wp-content/uploads/2019/06/prestige_logo3.svg
James Borg2024-08-25 13:00:322024-08-25 13:13:51Ceramic Coating 101: Part 2 of 4 – Decontamination
https://prestigedetailing.com.mt/wp-content/uploads/2024/08/104763512_170770097753641_3967202130012477212_n.jpg
1440
1080
James Borg
https://prestigedetailing.com.mt/wp-content/uploads/2019/06/prestige_logo3.svg
James Borg2024-08-25 13:00:322024-08-25 13:13:51Ceramic Coating 101: Part 2 of 4 – Decontamination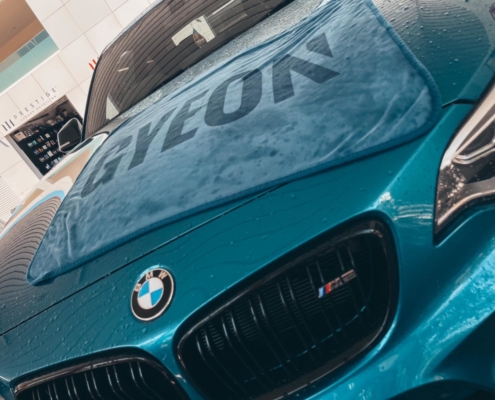 https://prestigedetailing.com.mt/wp-content/uploads/2023/04/PHOTO-2023-04-27-18-59-36-e1682858026929.jpg
990
1200
James Borg
https://prestigedetailing.com.mt/wp-content/uploads/2019/06/prestige_logo3.svg
James Borg2023-04-30 13:16:362024-08-25 13:11:04Ceramic Coating 101: Part 1 of 4 - How to Safely Wash Your Car
https://prestigedetailing.com.mt/wp-content/uploads/2023/04/PHOTO-2023-04-27-18-59-36-e1682858026929.jpg
990
1200
James Borg
https://prestigedetailing.com.mt/wp-content/uploads/2019/06/prestige_logo3.svg
James Borg2023-04-30 13:16:362024-08-25 13:11:04Ceramic Coating 101: Part 1 of 4 - How to Safely Wash Your Car https://prestigedetailing.com.mt/wp-content/uploads/2023/04/brake-dust-cleaner-malta.jpg
1080
1080
James Borg
https://prestigedetailing.com.mt/wp-content/uploads/2019/06/prestige_logo3.svg
James Borg2023-04-11 10:56:562026-07-13 09:29:09How to Clean Your Rims & Get Rid of Brake Dust
https://prestigedetailing.com.mt/wp-content/uploads/2023/04/brake-dust-cleaner-malta.jpg
1080
1080
James Borg
https://prestigedetailing.com.mt/wp-content/uploads/2019/06/prestige_logo3.svg
James Borg2023-04-11 10:56:562026-07-13 09:29:09How to Clean Your Rims & Get Rid of Brake Dust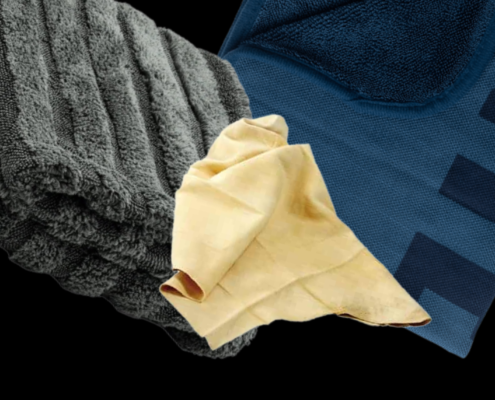 https://prestigedetailing.com.mt/wp-content/uploads/2023/03/A4F437B0-EA15-41CC-85DB-B0C3A348A3CE.png
2000
1414
James Borg
https://prestigedetailing.com.mt/wp-content/uploads/2019/06/prestige_logo3.svg
James Borg2023-03-19 10:06:312026-07-13 08:07:38Why You Should Use a Car Drying Towel and the Best Way to Dry Your Car
https://prestigedetailing.com.mt/wp-content/uploads/2023/03/A4F437B0-EA15-41CC-85DB-B0C3A348A3CE.png
2000
1414
James Borg
https://prestigedetailing.com.mt/wp-content/uploads/2019/06/prestige_logo3.svg
James Borg2023-03-19 10:06:312026-07-13 08:07:38Why You Should Use a Car Drying Towel and the Best Way to Dry Your Car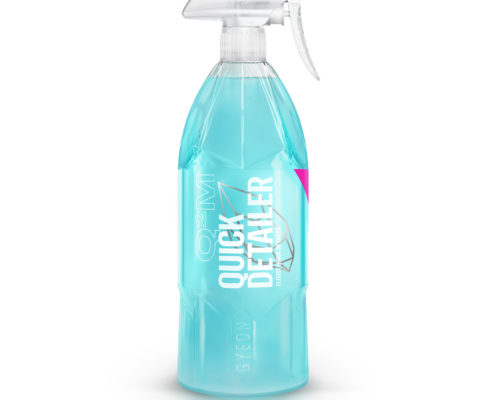 https://prestigedetailing.com.mt/wp-content/uploads/2022/11/Q2M_QuickDetailer_1000ml_2020-1750.jpg
1750
1750
James Borg
https://prestigedetailing.com.mt/wp-content/uploads/2019/06/prestige_logo3.svg
James Borg2022-11-21 13:32:232023-03-19 14:09:13Introducing the GYEON Q²M Quick Detailer
https://prestigedetailing.com.mt/wp-content/uploads/2022/11/Q2M_QuickDetailer_1000ml_2020-1750.jpg
1750
1750
James Borg
https://prestigedetailing.com.mt/wp-content/uploads/2019/06/prestige_logo3.svg
James Borg2022-11-21 13:32:232023-03-19 14:09:13Introducing the GYEON Q²M Quick Detailer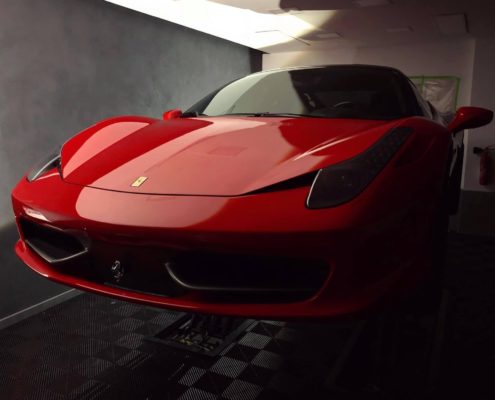 https://prestigedetailing.com.mt/wp-content/uploads/2022/09/ferrari-wax-vs-polish-1.jpg
1534
2048
Nicholas Lee Gatt
https://prestigedetailing.com.mt/wp-content/uploads/2019/06/prestige_logo3.svg
Nicholas Lee Gatt2022-09-05 11:35:112026-07-13 09:01:17The Rub: Can Sunlight Affect My Car’s Paintwork and Interiors?
https://prestigedetailing.com.mt/wp-content/uploads/2022/09/ferrari-wax-vs-polish-1.jpg
1534
2048
Nicholas Lee Gatt
https://prestigedetailing.com.mt/wp-content/uploads/2019/06/prestige_logo3.svg
Nicholas Lee Gatt2022-09-05 11:35:112026-07-13 09:01:17The Rub: Can Sunlight Affect My Car’s Paintwork and Interiors?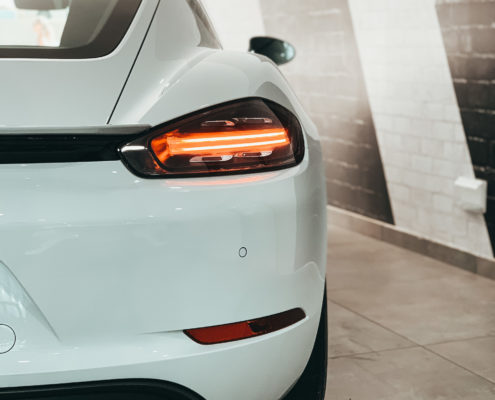 https://prestigedetailing.com.mt/wp-content/uploads/2022/09/detailing-studio-malta-scaled.jpg
2560
1920
Nicholas Lee Gatt
https://prestigedetailing.com.mt/wp-content/uploads/2019/06/prestige_logo3.svg
Nicholas Lee Gatt2022-09-05 11:28:522026-07-13 10:29:22The Rub: Why Detail Your Car or Motorcycle?
https://prestigedetailing.com.mt/wp-content/uploads/2022/09/detailing-studio-malta-scaled.jpg
2560
1920
Nicholas Lee Gatt
https://prestigedetailing.com.mt/wp-content/uploads/2019/06/prestige_logo3.svg
Nicholas Lee Gatt2022-09-05 11:28:522026-07-13 10:29:22The Rub: Why Detail Your Car or Motorcycle?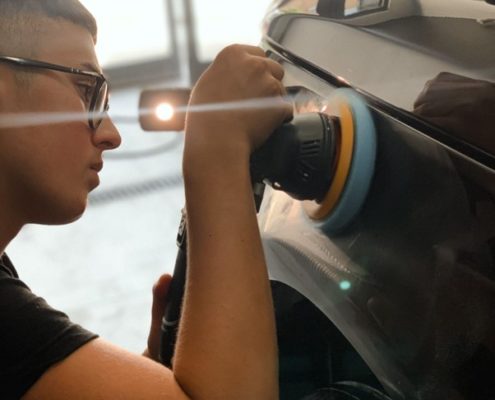 https://prestigedetailing.com.mt/wp-content/uploads/2022/09/Picture1.jpg
803
602
Nicholas Lee Gatt
https://prestigedetailing.com.mt/wp-content/uploads/2019/06/prestige_logo3.svg
Nicholas Lee Gatt2022-09-05 11:07:502023-03-19 14:11:39The Rub: Should I use car wax or polish on my car?
https://prestigedetailing.com.mt/wp-content/uploads/2022/09/Picture1.jpg
803
602
Nicholas Lee Gatt
https://prestigedetailing.com.mt/wp-content/uploads/2019/06/prestige_logo3.svg
Nicholas Lee Gatt2022-09-05 11:07:502023-03-19 14:11:39The Rub: Should I use car wax or polish on my car?