“How you do anything is how you do everything”, the saying goes. If our clients have taught us anything, it’s that if you’re committed enough, there’s no reason why you can’t ceramic coat your own car. Join us as we explore step 1 in our 4-part D.I.Y ceramic coating series.
What You Will Need
Whether it’s your first attempt at ceramic coating or your hundredth, safe-washing your vehicle should always be your starting point. And to get off on the right foot, we recommend choosing the right tools and products. After all, the last thing you want – if ceramic coating is your end-goal – is to leave scratches and contaminants sealed under that precious layer of SiO2 (silicone dioxide).
Of course, safe-washing your car isn’t always necessarily a stepping stone to ceramic coating; it could also be a step that precedes other interventions like paint correction or just simply part of your car maintenance routine. Either way, the below is a list of the items you will need.
Required Tools/ Wash Media:
- Snow Foam
- pH-Neutral Car Shampoo
- Foam lance and pressure washer or foam sprayer.
- Wash mitt.
- Wheel mitt.
- Rim Brush.
- x3 Buckets.
- Grit guards.
- Drying towel.
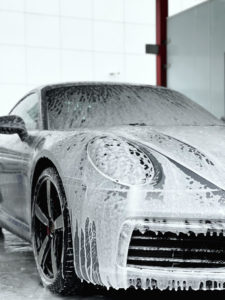
Spray, Don’t Touch
Before laying a finger (or wash mitt) on your car, the first order of duty should be to use snow foam. Administered with a lance, snow foam dissolves stubborn and / or abrasive particles from your car’s paint lacquer by being left to linger on your car’s surface for a specific amount of time.
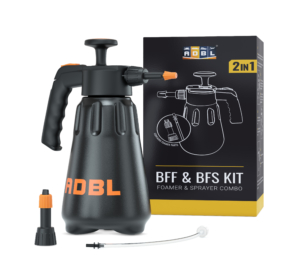
If you don’t already own a lance, we strongly recommend the Extreme Snow Foam Lance Kit, a tool that easily attaches to your pressure washer thanks to a handy adapter (sold separately) and also distributes the snow foam solution over your vehicle evenly. Alternatively, if you don’t mind a mechanical solution, the ADBL BFF & BFS kit (shown below) is an excellent substitute – great if you don’t have a pressure washer in your garage and easier on the wallet too.
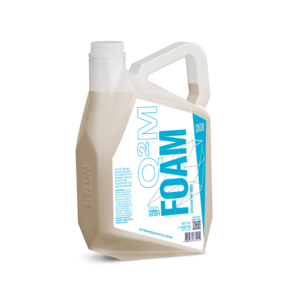
As far as what goes into your foamer of choice, both GYEON’s Q²M Foam and ADBL’s Yeti range are excellent candidates. The choice will depend on price, the individual strengths of each product and how – most importantly – they apply to you. What we can say, though, is that, when used in a traditional foam lance, Q²M Foam has a 1:5 dilution ratio whereas in ADBL Yeti’s case, it’s 1:9.
Now that you’ve made up your mind as to which tools and solutions work best for you, it’s time to coat your car in snow foam. Ensure you lay on a thick, even layer of foam and wait the allocated amount of time. Finally, rinse off the solution to complete this stage off the pre-wash.
Getting Down to Business
Washing your car also means choosing the right shampoo, and by ‘right’, we mean a pH neutral solution; one that is easy on your paintwork and won’t do any damage to pre-existing coats or wax layers. In effect, your shampoo’s job is to safely lift off any residue from the surface of your vehicle, including what was acted on by the snow foam solution mentioned in the previous section.
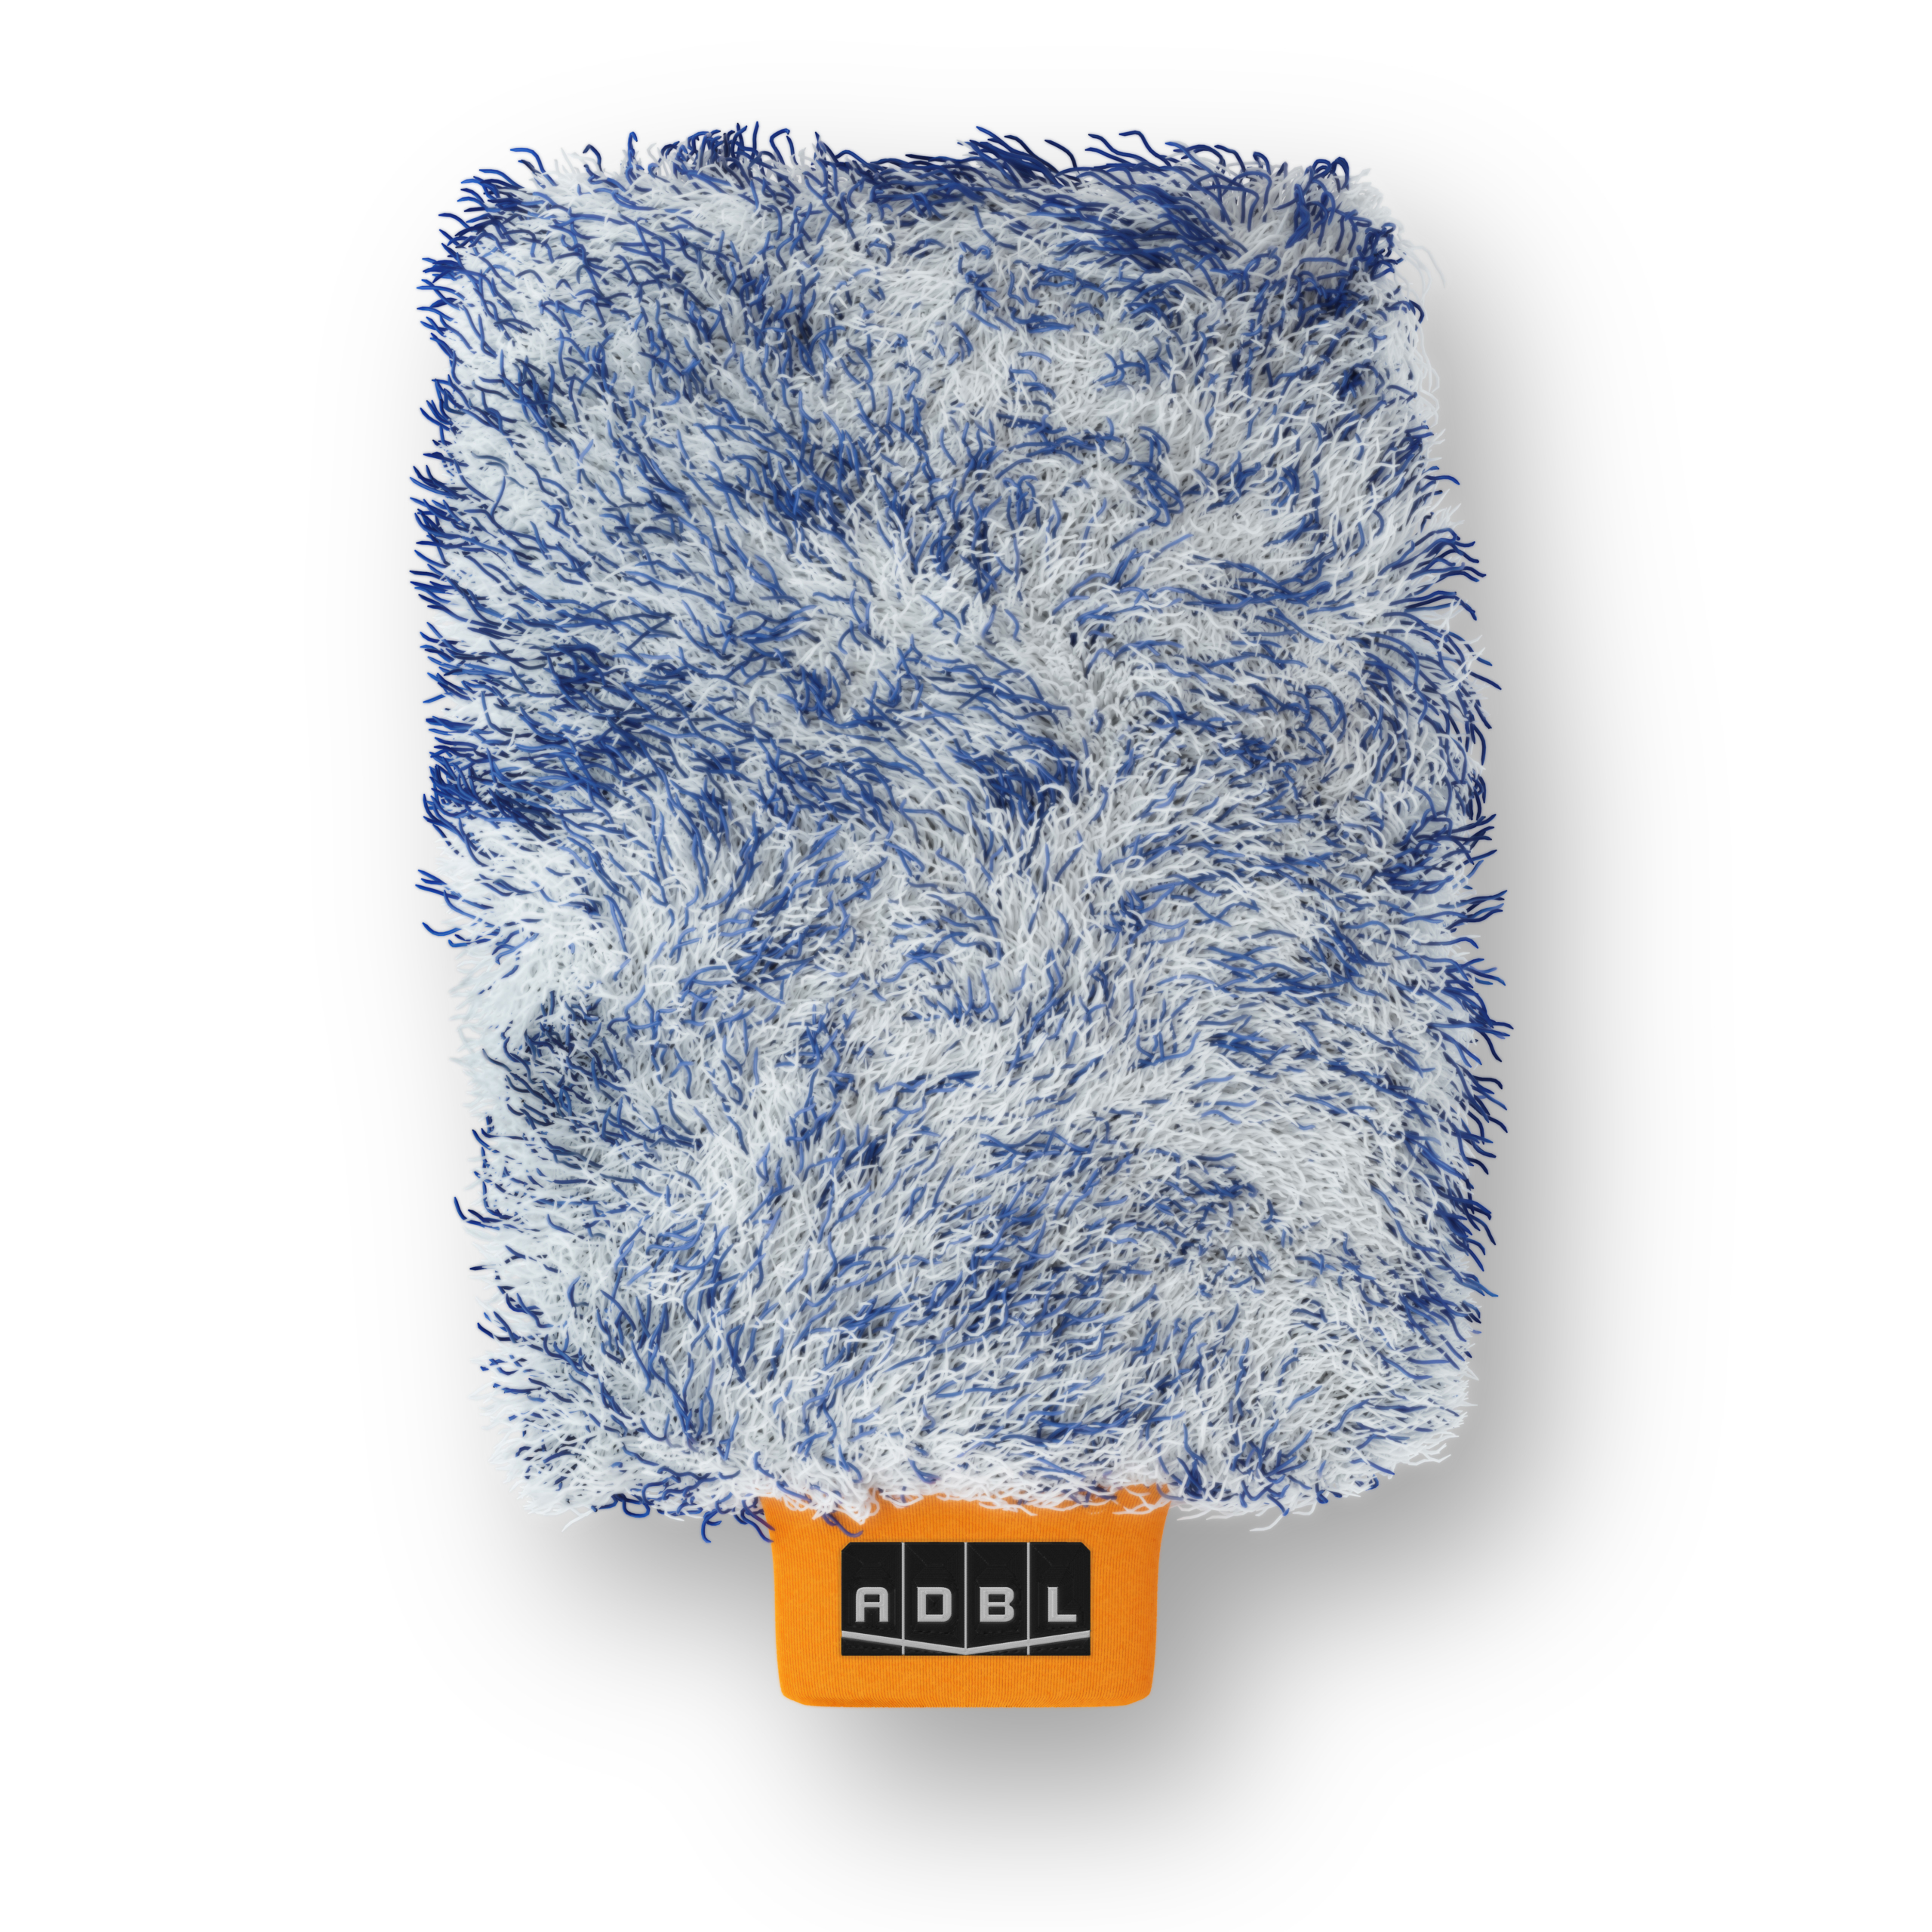
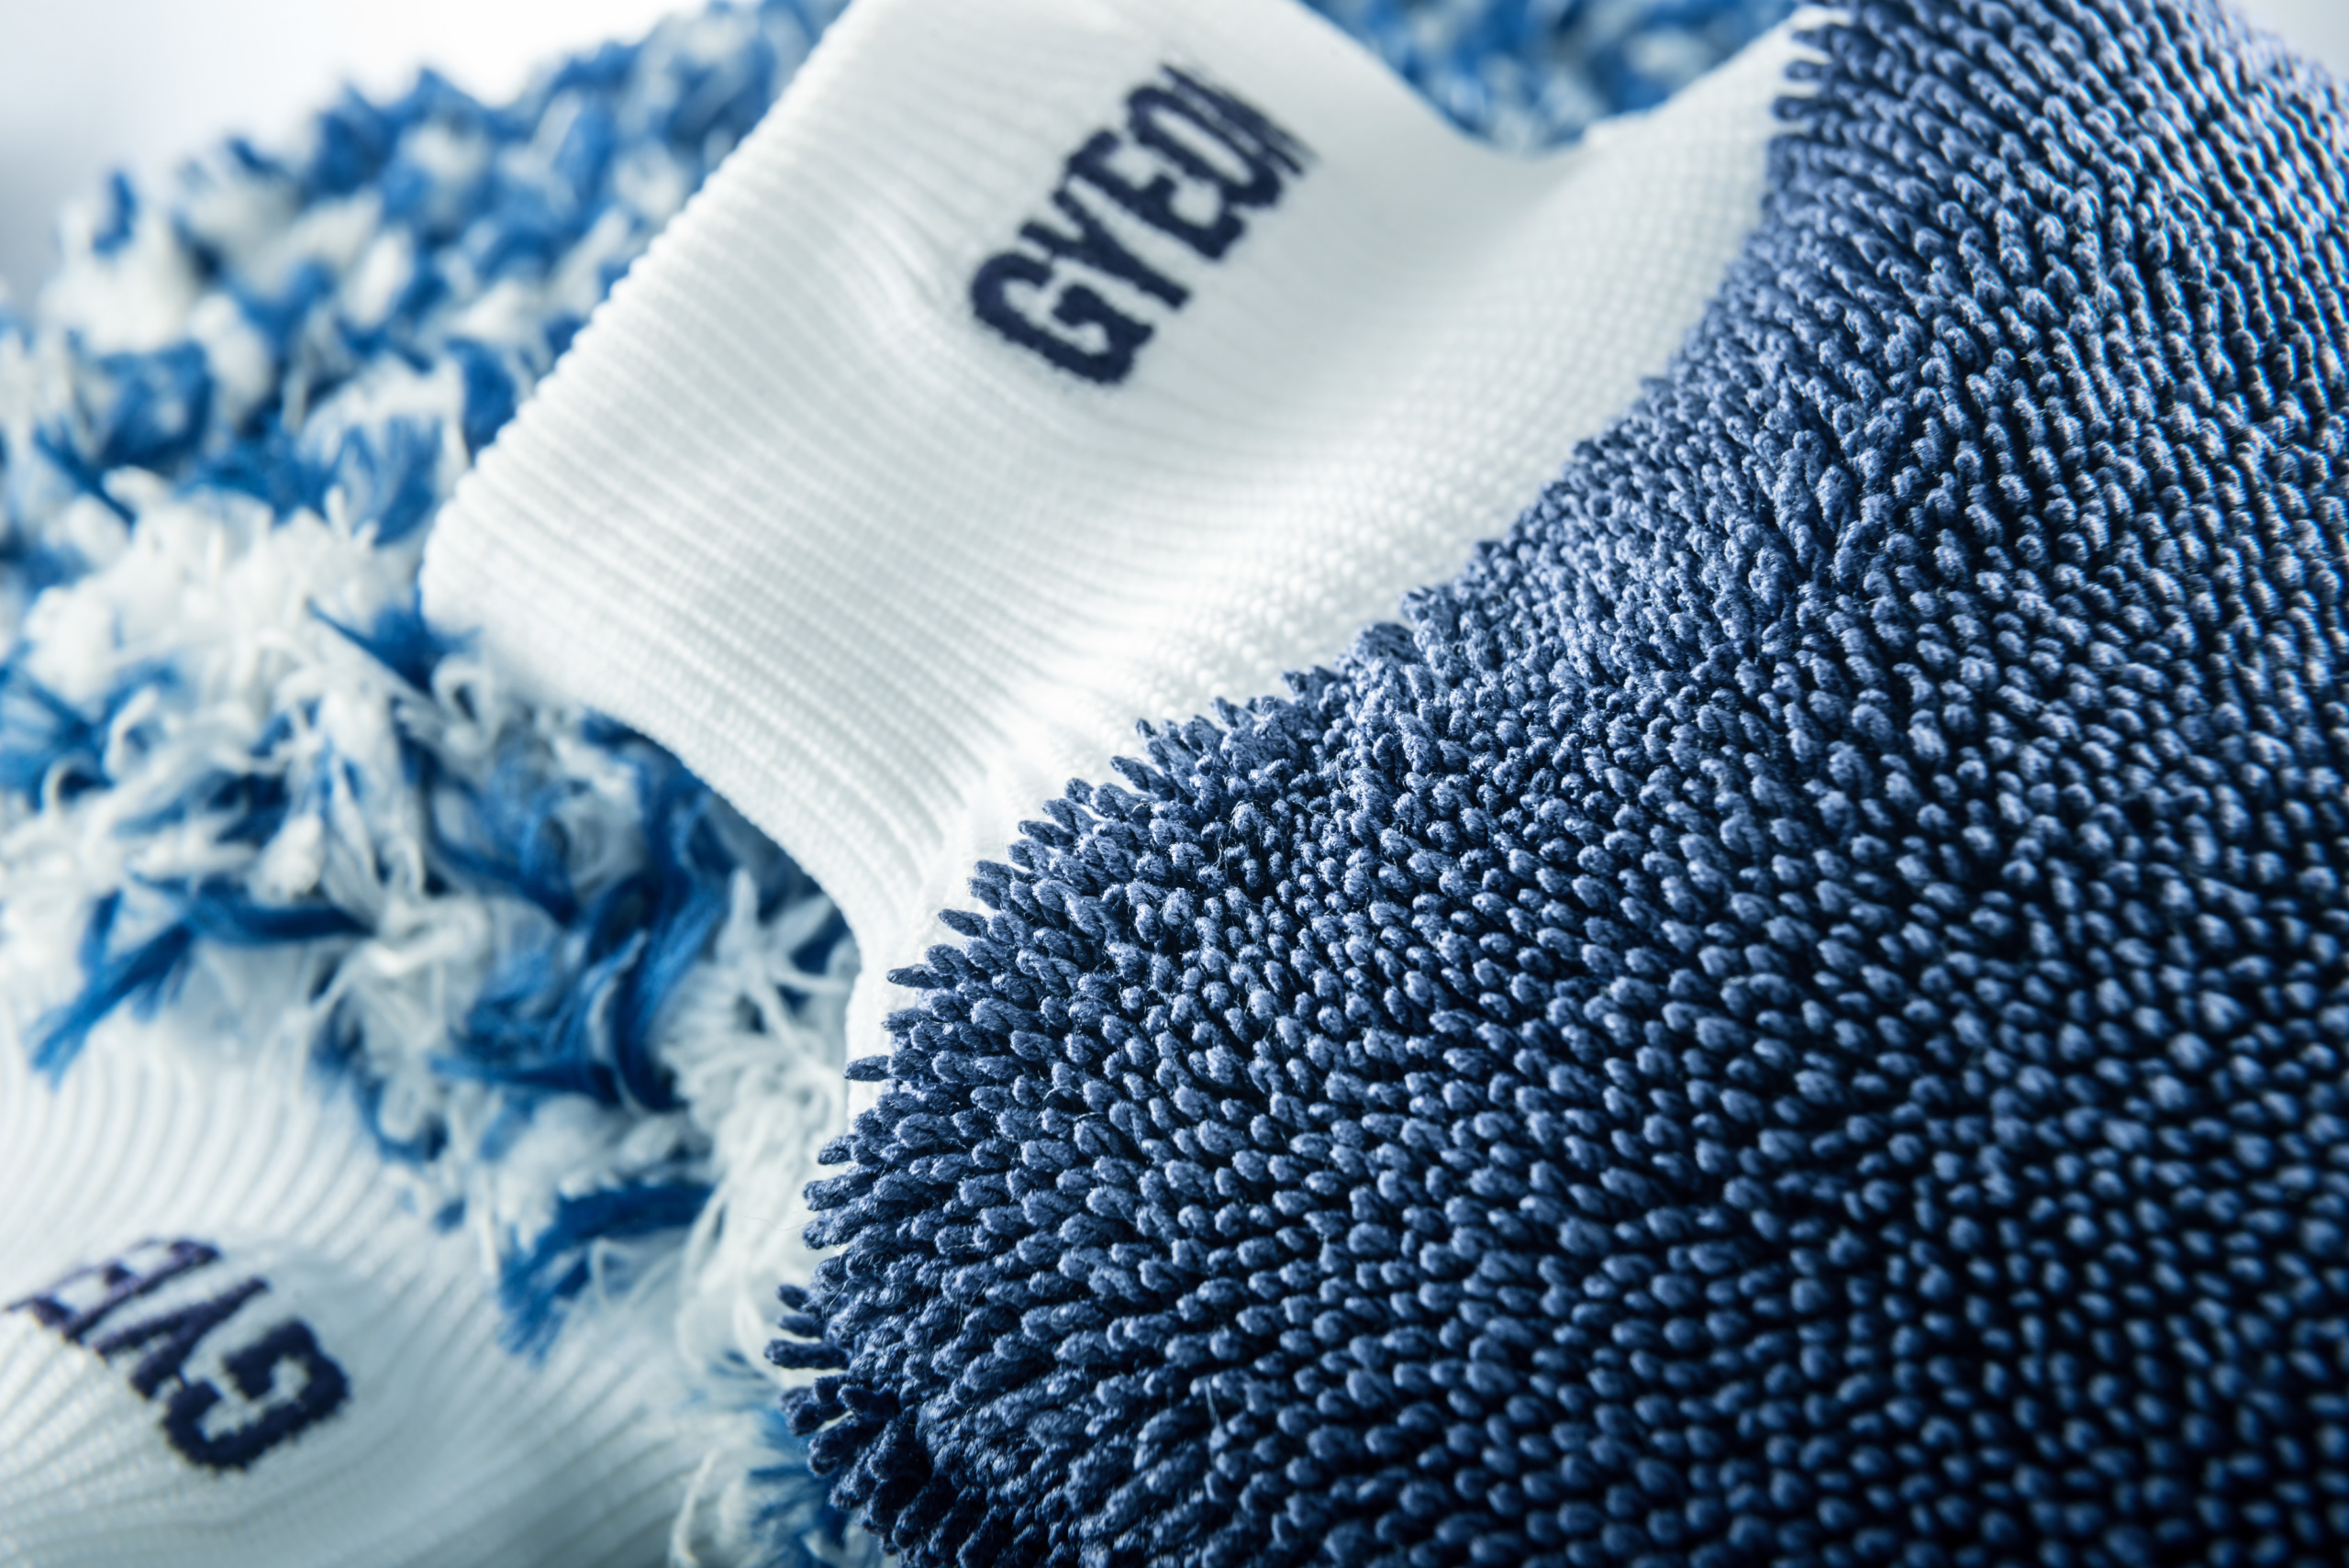
Let’s note something important at this stage: you’ll want to use a wash mitt and not a sponge! This is because with a quality mitt, dirt, grime and other potentially abrasive elements, like brake dust and sea salt, have less of a chance of leaving scratches and swirl marks on your car. Gliding easily off your car’s paintwork, they are great for trapping foreign elements in their folds and lifting them away from the surface of your car.
Lastly, and to further minimize the chances of scratching your car, always work your way with your wash mitt from the top of your car to the bottom, starting from the roof. This is because brake dust and other coarse elements are typically found near the lower part of your vehicle.
Did you Say “Bucket” or “Buckets”?
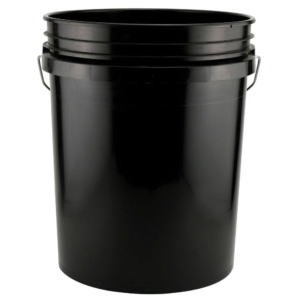
Before we move on to drying your car, it’s worth taking a moment to sing the praises of having more than one bucket in your detailing arsenal. And we don’t just mean any old bucket – we mean something like these 5 Gallon plastic buckets, containers that are big enough to keep heavy, abrasive elements (such as brake dust and other contaminants) at the bottom, and as far away from your wash mitt and paint lacquer as possible.
In fact, we strongly recommend using a dual bucket system.
Here, one bucket holds your shampoo and water solution, whereas the second bucket is used to rinse your wash mitt in between passes on your car’s paintwork. That way there is very little to no transference of contaminants from your wash mitt back to other areas of your car.
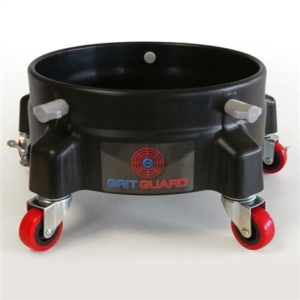
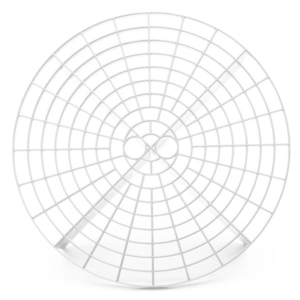
Above: A bucket dolly for convenience and a GritGuard (a bucket insert that keeps contaminants at bay).
Rims First
But is there room for a third bucket? We would say, yes, a dedicated bucket for your wheels and rims is essential. After all, don’t forget that your wheels come into contact with some of the most abrasive elements while you’re on the road – we’re talking brake dust, tar and all kinds of grime. Getting them into contact with your paintwork via your wash mitt is the last thing you want to do.
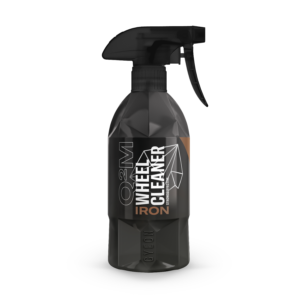
To prevent this, we recommend investing in a good quality rim cleaning chemical, like GYEON’s Q²M Iron WheelCleaner, along with a rim brush, and a third bucket for rinsing off any tools used in the process. If, on the other hand, you have baked-on brake dust you can use a stronger acid-based wheel cleaner like ADBL Wheel Warrior. Either way, agitate the rims thoroughly using the brush and a wheel mitt, then rinse off the solution.
Most important of all, make sure you keep your paintwork and rim cleaning tools separate to avoid transferring contaminants from one to the other.
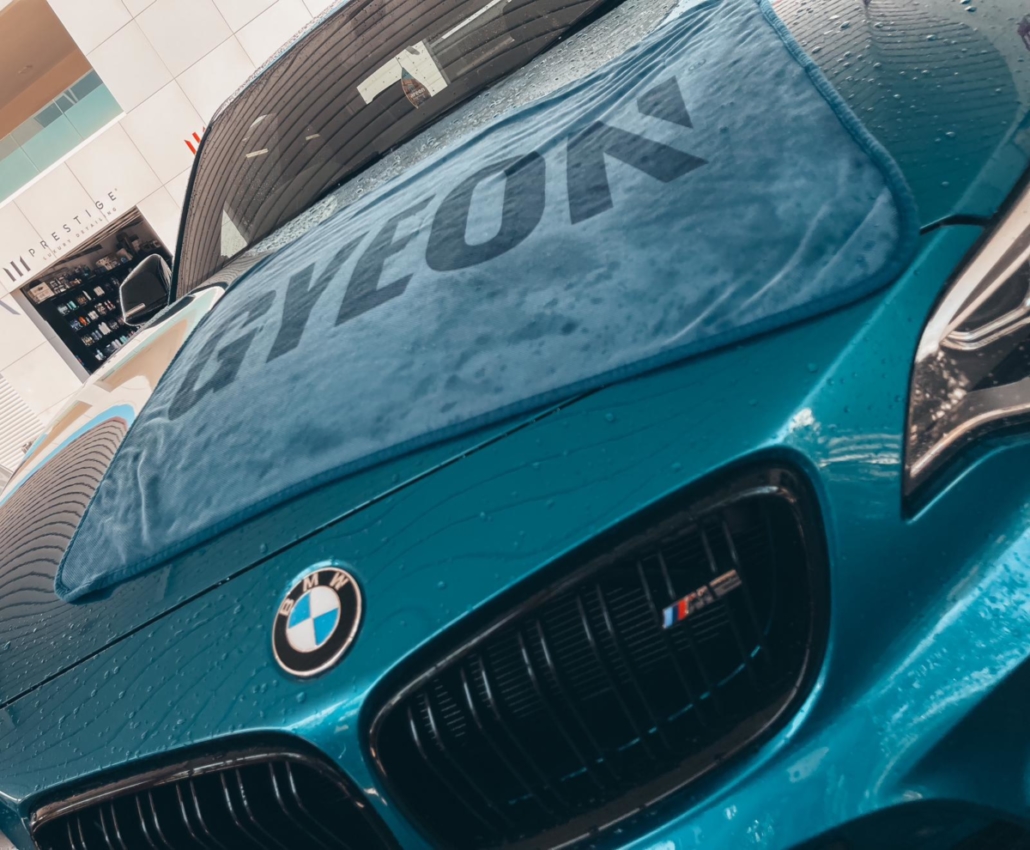
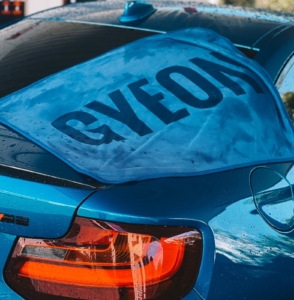
Home and Dry
The next step is, of course, drying your vehicle. For this purpose, we recommend using a quality drying towel along with a dedicated blower like the BigBoi BLOWR Mini. The short of it is, you don’t only want to thoroughly dry the car; you also want to dislodge any leftover water from areas like wing mirrors and door handles; water which might dribble out later and give you a headache in the process.
Now that your car is dry, it’s time to pat yourself on the back, the safe-wash is complete. In the next post, we will move on to the next step in the ceramic coating process: decontamination.