So, you’ve just completed the safe-wash, and your car is looking fresh and clean. But as satisfying as that might be, there’s a crucial next step before applying your ceramic coating: decontamination. This step is all about ensuring that your vehicle’s paintwork is as smooth and contaminant-free as possible, providing the perfect surface for the coating to bond with.
Why Decontamination Matters
Even after a thorough wash, microscopic contaminants can remain embedded in your vehicle’s paint. These can include things like iron deposits from brake dust, tar spots, tree sap, and even industrial fallout. Left untreated, these contaminants can compromise the durability and finish of your ceramic coating, reducing its effectiveness and lifespan.
Decontamination not only enhances the longevity of your coating but also ensures a flawless finish by removing these embedded impurities. The process involves both chemical and mechanical methods to address different types of contaminants.
Tools & Products You’ll Need:
- Before diving in, let’s gather the necessary tools and products:
- Iron Fallout Remover: A chemical solution designed to dissolve iron particles embedded in your paint.
- Tar Remover: Specifically formulated to break down tar spots and other sticky contaminants.
- Clay Bar/Clay Mitt: A mechanical method for removing surface contaminants that washing alone cannot remove.
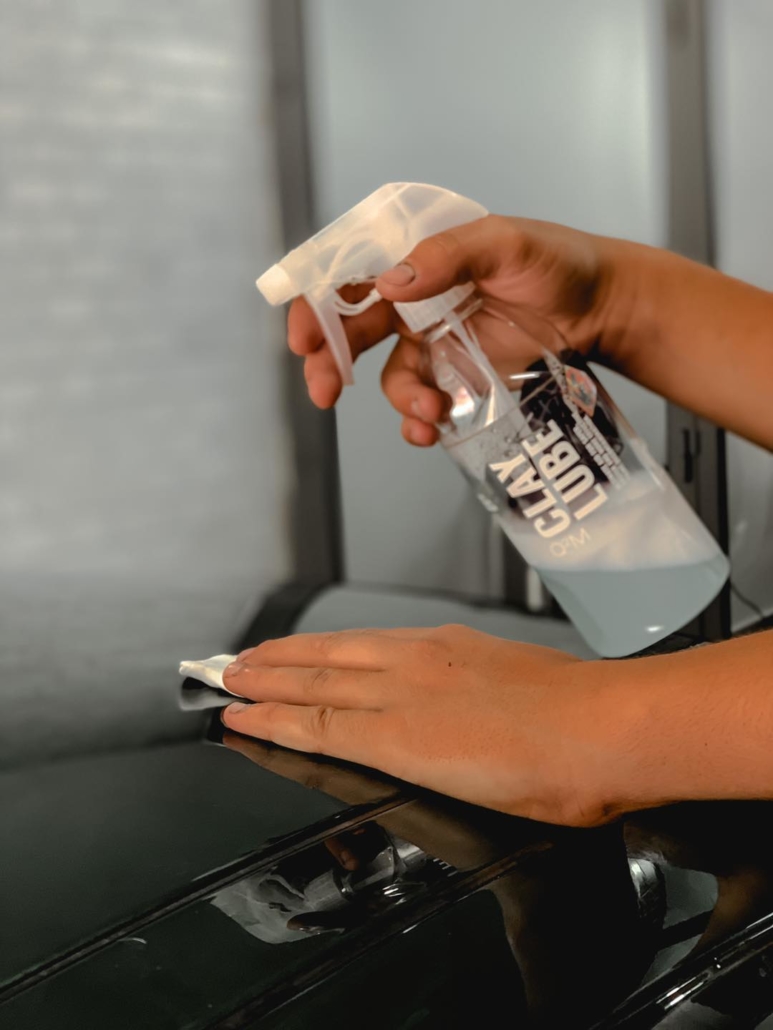
- Detailing Spray: Used as a lubricant for the clay bar to glide smoothly over the paint.
- Microfiber Cloths: For wiping down surfaces after applying decontamination products.
Step 1: Iron Fallout Removal
The first phase of decontamination involves using an iron fallout remover. Iron particles are tiny, but they can cause significant damage if left untreated, leading to rust spots and etching in your paint.
- Apply the Iron Remover: Spray the iron remover evenly across your vehicle’s surface, focusing especially on lower panels where brake dust tends to accumulate.
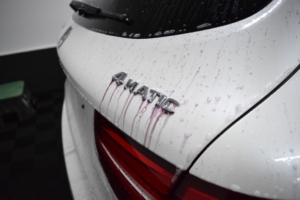
- Wait and Watch: After a few minutes, you’ll notice the solution changing color (often to a purple or red hue) as it reacts with the iron particles. This indicates the product is working.
- Rinse Thoroughly: Once the reaction is complete, rinse the vehicle thoroughly with water to remove the dissolved iron particles and any leftover product.

Dissolving iron particles from the paintwork.
Step 2: Tackling Tar Spots
Washing your car also means choosing the right shampoo, and by ‘right’, we mean a pH neutral solution; one that is easy on your paintwork and won’t do any damage to pre-existing coats or wax layers. In effect, your shampoo’s job is to safely lift off any residue from the surface of your vehicle, including what was acted on by the snow foam solution mentioned in the previous section.
Let’s note something important at this stage: you’ll want to use a wash mitt and not a sponge! This is because with a quality mitt, dirt, grime and other potentially abrasive elements, like brake dust and sea salt, have less of a chance of leaving scratches and swirl marks on your car. Gliding easily off your car’s paintwork, they are great for trapping foreign elements in their folds and lifting them away from the surface of your car.
Step 3: Claying the Paint
Even after chemical decontamination, your car’s paint may still have embedded contaminants. This is where the clay bar (or clay mitt) comes in. It’s the final step in ensuring your paint is perfectly smooth.
- Prepare the Surface: Start by spraying a generous amount of detailing spray onto a small section of the car. The spray acts as a lubricant for the clay bar, preventing it from marring the paint.
- Clay the Paint: Glide the clay bar (or mitt) gently over the lubricated section in straight lines. You’ll feel the clay picking up contaminants as it moves. Continue until the area feels completely smooth.
- Wipe Clean: Once the section is smooth, wipe it down with a clean microfiber cloth to remove any residue. Repeat this process over the entire car, re-lubricating with detailing spray as necessary.
- Check Your Progress: Run your hand over the paint after each section; it should feel smooth as glass. If you feel any remaining roughness, re-clay the area until it’s contaminant-free.
Final Rinse & Inspection
After claying, give your car one final rinse to remove any remaining residue from the decontamination process. Take a moment to inspect the paint closely. At this point, it should be smooth, clean, and free of contaminants.
Moving Forward
Now that your car’s paintwork is fully decontaminated, it’s primed and ready for the next stage: paint correction. In Part 3 of our series, we’ll delve into the intricacies of correcting any imperfections in your paint, ensuring that your car’s surface is immaculate before applying the ceramic coating. Stay tuned!


